IIS Web Server
This will be dealing with
1. How to set up IIS Web Server on Windows Systems with a Graphical User Interface
2. Confirming where logs of IIS Web Server are stored on your system
3. How to make a local webpage accessible via your browser.
4. Hardening IIS Web Server
Prerequisites
- Installation of a Windows System 7,8,8,1,10 or 11
- A sample website to use. Download the following website provided below:
Setting up IIS Web Server
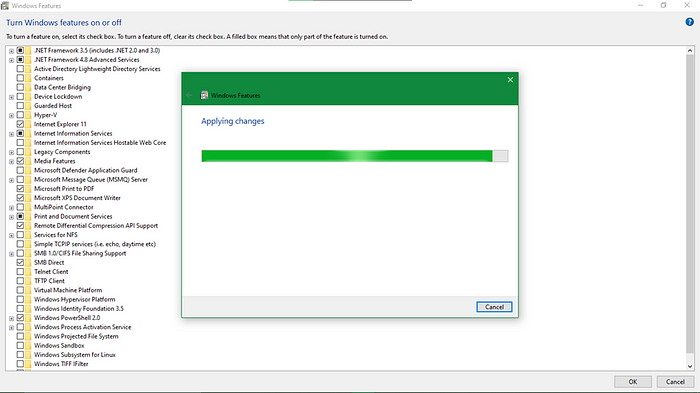
- On Start Menu or Search Bar, search for Turn Windows Features on or off and open it.

- Search for Internet Information Services and check the box next to it(It should only be a solid shaded color instead of a tick unless you choose to install additional packages)
- Click on OK. Installation should begin as seen below
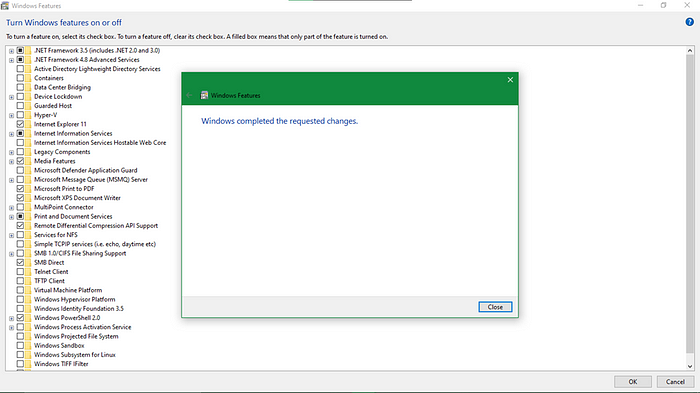
- After the installation is complete, you should see a display similar to the one below.
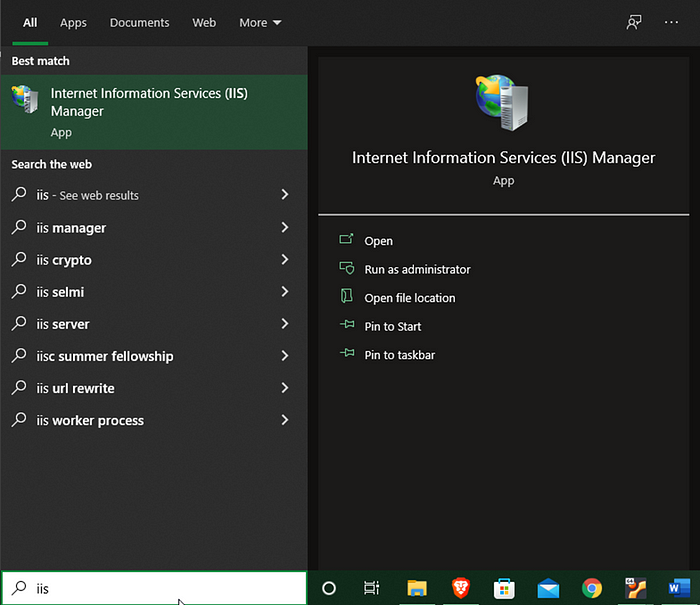
- Go back to the Start Menu or Search Bar once more and search for IIS Manager and start it.
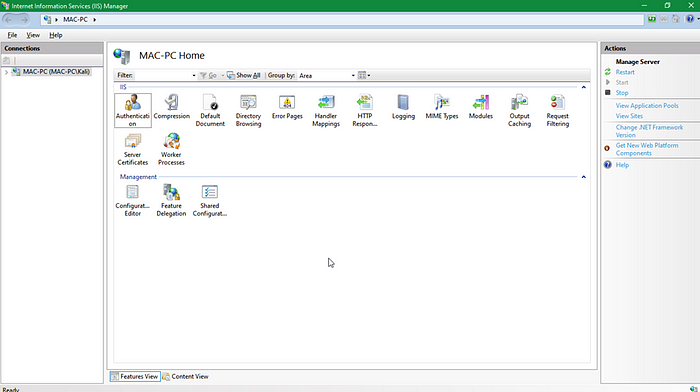
- A default page similar to this should appear with your default PC name replacing my own
- Select on the PC name appearing above then on the following dropdown, select on Sites. You should see a Default Web Site already configured automatically once you installed IIS.
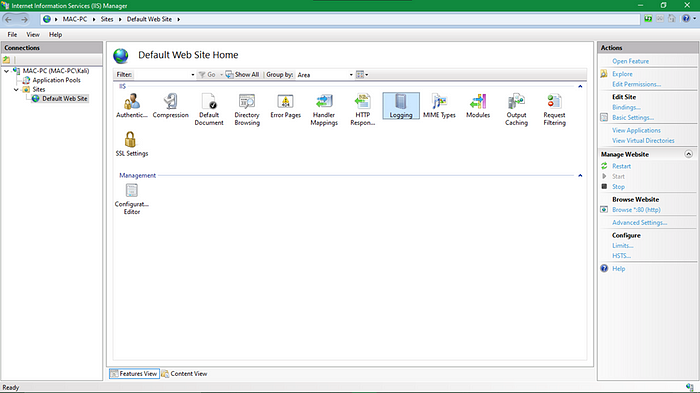
- This indicates the installation was successful and the Default Web Page can easily be accessed via your browser using localhost as the domain or the ip address 127.0.0.1 which is still the ip address for localhost
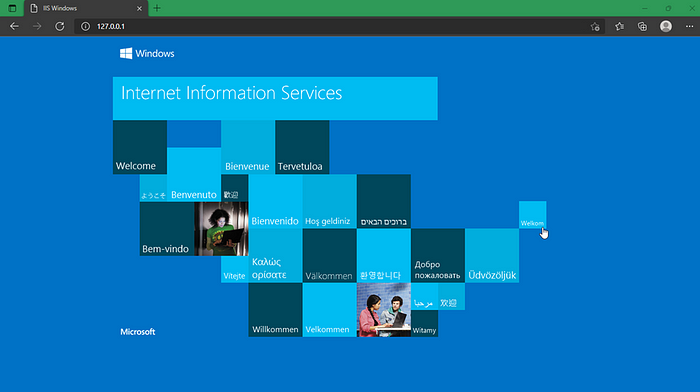
Logs of IIS Web Server
- Go back to the IIS application and on the Default Web Site page, click on the Logging Icon to see where the logs are stored on the system.
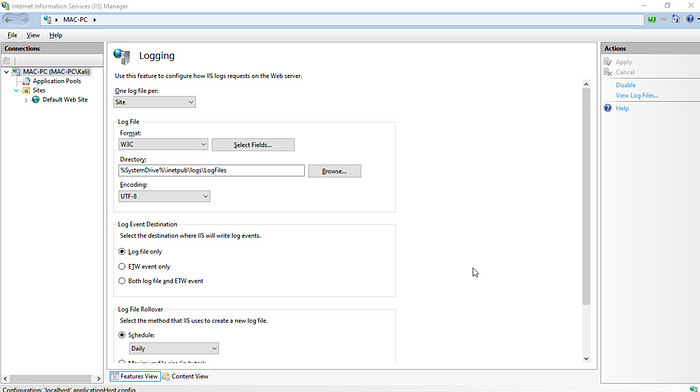
- You can copy the directory path and paste it into File Explorer to see where the logs are
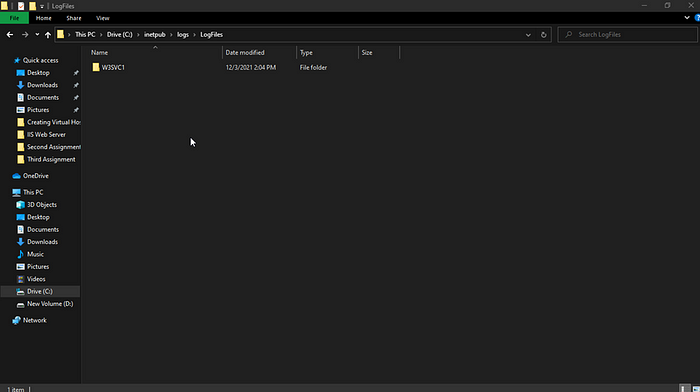
- Upon opening the file, you can see that the logs are stored and named depending on the date accessed
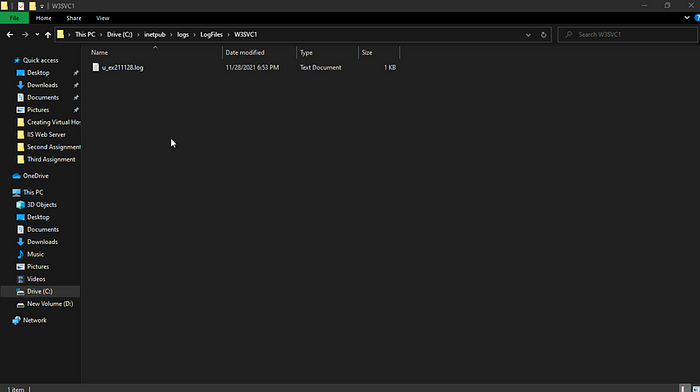
- It is a regular .txt file that can be opened using notepad. Open it and the file contents should be similar to the one below.
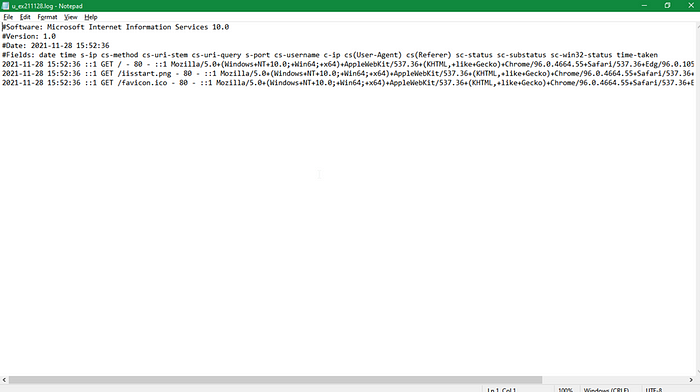
The First Line indicate the Software used to prepare the specific log file
The Second Line is the version of that software.
The Third is the creation date of the Log File.
The Fourth Line indicates the Fields that the log file will be recording e.g. the first field is date and the first log entry indicates 2021–11–28 as the date of the its entry
The logs recorded can contain important information like the date and time of access and even the user agent used which can indicate information about which browser was used to access the page.
It is usually a good practice to regularly backup log files in case of a compromise to the system.
Load local webpage onto browser
- Download the sample project from github and copy it in the C:\inetpub directory. This is the same directory where the Default Web Page is stored. You should see the folder containing it named as wwwroot
- Rename the project to password for easier access as you proceed on the next steps
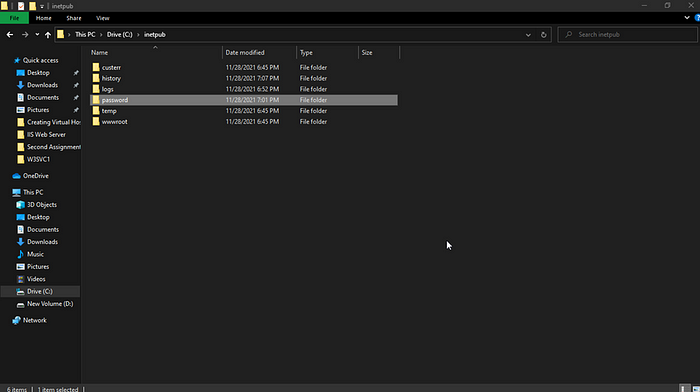
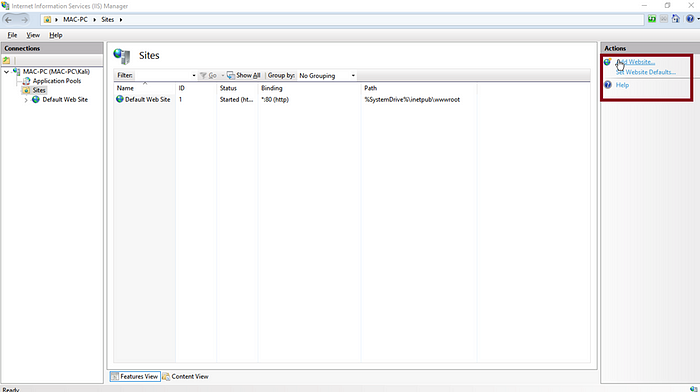
- Go back to the IIS Services Manager Application and Go to sites. At the farthest right, click on the button labelled Add Website
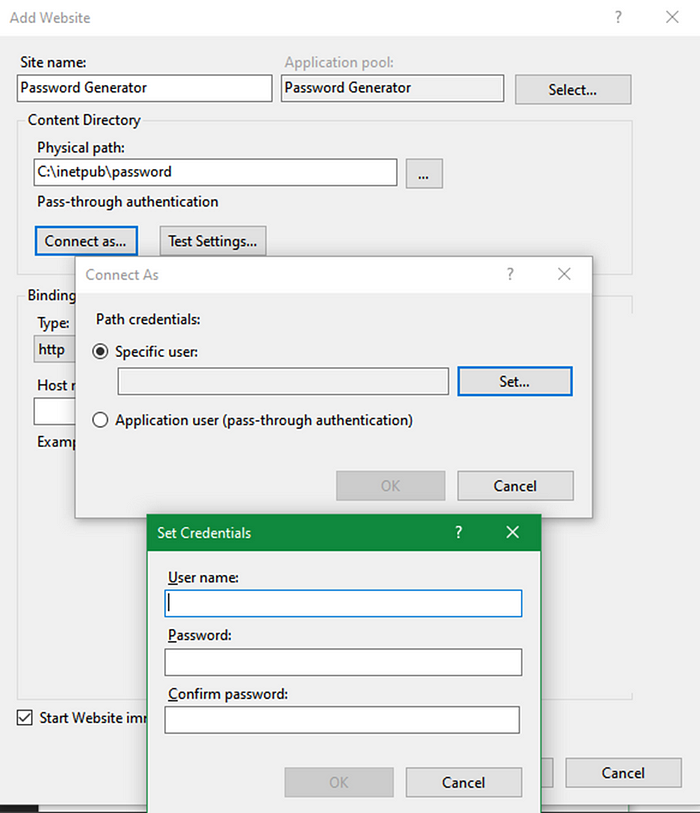
- Fill in the table that appears as the one filled below. Assign a name and provide the path used to store the password. This can be copy pasted from File Explorer by opening the password file then copying the path at the top of the window or alternatively if you renamed the file then just copy paste the line below:
C:\inetpub\password
- The Connect as… feature can be used if you would like to limit access to the website and you can assign access to only a specific user already on the Windows System
- Leave the Type as http unless you have an already configured SSL Certificate that you can use which in that case, you can switch to HTTPS for further security.
- Use a random port number between 1000–2000. You cannot use the default port 80 as that will conflict with the Default Web Site page which already makes use of the same port.
- Leave the hostname blank unless you have added it to your local DNS file already otherwise the browser will resolve the DNS provided and connect you to a different IP address.
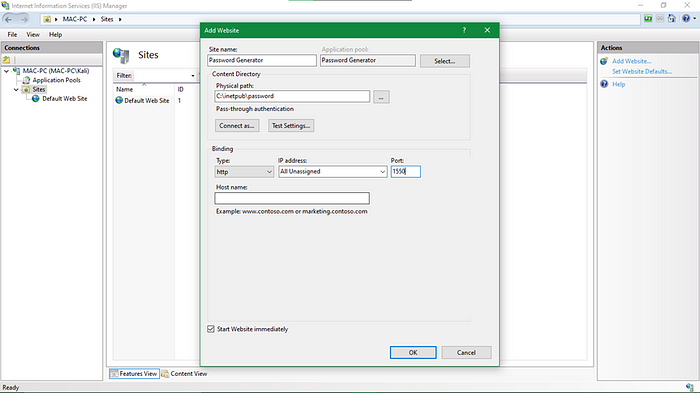
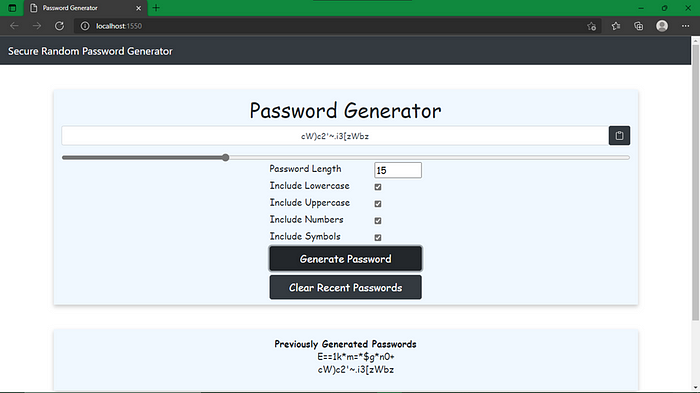
- Click on OK and go to your browser to Launch the website. You can type in either localhost:1550 or 127.0.0.1:1550 on address bar. The additional semi colon and 1550 is appended to the domain or ip address so that the browser knows to access the site through port 1550 otherwise it would default to accessing it through port 80.
Hardening IIS Web Server
Some of the most common ways to harden your IIS Web Server and make it less vulnerable to malicious attackers include:
1. Enabling logging on all your websites using IIS and enabling logging on your firewall as well
2. Move the logs from the default configured location that comes once installed. Set up a replication for the log folders and always update it so a copy of the files is always available if the original is deleted.
3. Use firewall rules to ensure end users have access only to the ports in use and not additional ports on the system.
Resources
These can be used to go further into the topic or incase you run into a problem during the configuration